Our local natural food store and their best-selling ice cream brand have let us down. Way down… OK, we’re going to name names here.
Let us just say that Husband is fond of ice cream - extremely fond of ice cream! Nothing wrong with that, as long as we remember that moderation is a good thing. So we’ve been buying Alden’s Organic Ice Cream for years. Household preference is Vanilla Bean.
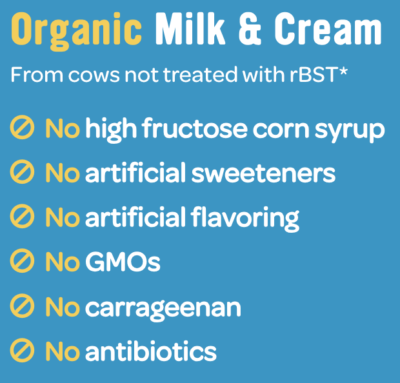
We trusted Alden’s. After all they told us, “Alden’s Organic frozen treats are always organic, made from real ingredients.” Real ingredients, that’s what we’re looking for.
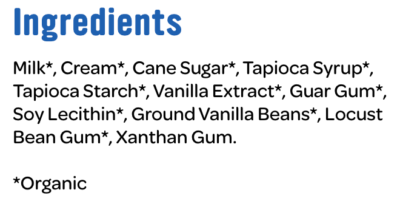
The last time we shopped, we made the mistake of looking at the ingredients list. Bad news; it’s worse than we imagined.


OK, no carrageenan, that’s good. But… what’s with all the thickeners, stabilizers, and emulsifiers? There are five of them: tapioca starch, guar gum, soy lecithin, locust bean gum, and xanthan gum. Whew! That should do the job, eh?
Our alternative? DIY – make our own ice cream. In hopes that it would be healthier and cheaper to churn up a quart every now and then, we ordered a small countertop ice cream freezer. Next up, finding the right recipe.
Much Googling and Binging later, here’s our favorite recipe from Ice Cream from Scratch. Not one to leave a good thing alone, there were a few adjustments that we made: increase to 5 large egg yolks (VERY orange ones from our local farm friend), 2 cups of heavy cream (wanted to use the whole pint container), and 1 cup of whole milk.
The recipe also recommends vanilla paste if you don’t have vanilla beans – very pricey, but still cheaper than whole vanilla beans.
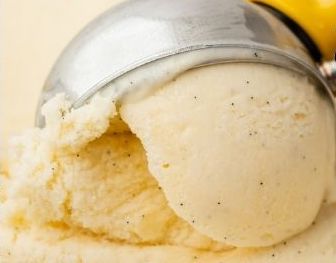
And, yes, our ice cream looked almost exactly like the picture – actually just a little brighter yellow from the farm eggs. Taste? Amazing!

The process takes a little time:
- Freeze the ice cream maker container for 3 days in a the bottom of a chest freezer set to 0ᵒ F.
- Prepare the mix the day before you intend to churn the ice cream and refrigerate it overnight.
- Add the mix to the ice cream maker according to the manufacturer’s instructions. Churn until the ice cream is the firmness of a serving of Dairy Queen ice cream. (Don’t ask why we know how firm DQ is…)
- Spoon the ice cream into an airtight container and freeze for at least 4 hours to get the best firmness and texture.
Final judgement:
- The resulting ice cream is a dish of heavenly yumminess. Remember: moderation, moderation, moderation.
- Although it’s necessary to plan ahead, the process is mostly hands off.
- Custard ice cream is anything but low calorie and not low cost, but the good news is that it really IS “made from real ingredients!”

