
When your fur baby has terrible food allergies, what do you do? The “non-allergenic” pet foods made her even worse.
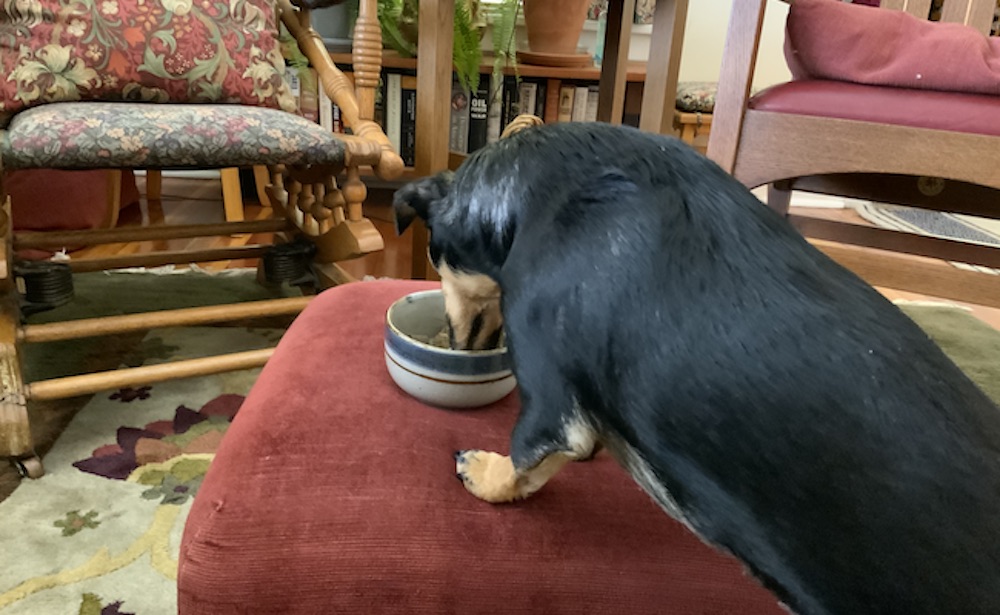
Our rescue pup, Lizzie, explodes into hives when she eats chicken (including meat, eggs, liver, and egg shells) and then scratches until she draws blood. She also seems to react a little less violently to wheat, but we don’t want to take any chances.
We DON’T feed her something dry or canned from Big (Pet) Food. Read Feed Your Pet Right, by Marion Nestle and Malden C. Nesheim. It will tell you what exactly goes into making commercial pet food – and informed my decision to feed our Lizzie real food.
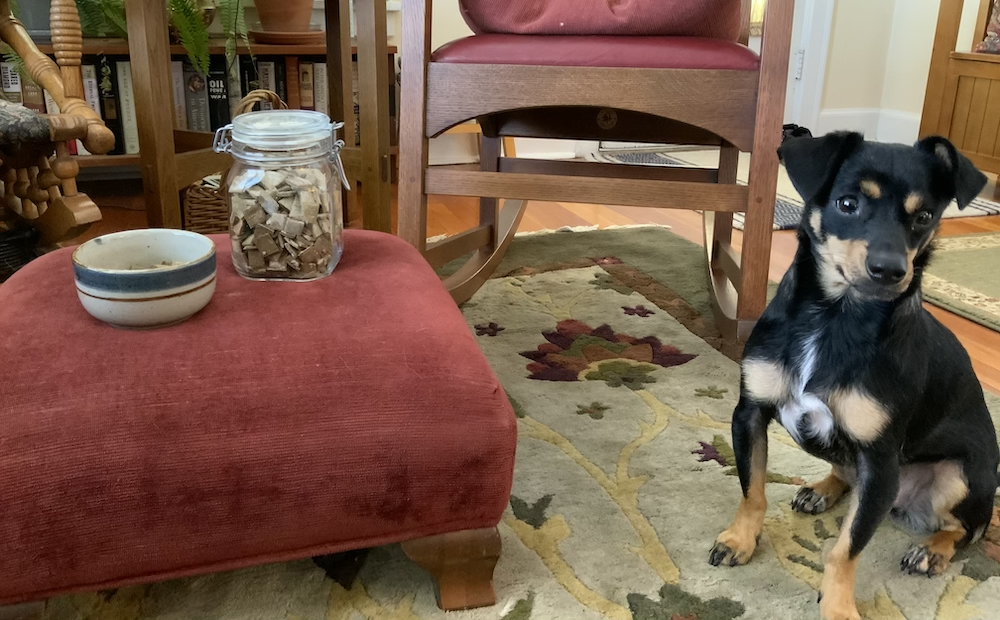 (Here’s what happens when the model decides she wants ALL the treats!)
With the help of a great veterinary team and a top-of-the-line supplement/meal program, we’ve got it under control. Our menu program includes the same food we eat: organic, locally grown, and cooked from scratch. Why give her something that will make her feel even worse?
But what about those always necessary puppy treats? These are puppy-approved, contain no allergy triggers for Lizzie, and simple to make. They are nothing more than tiny cookies.
Ingredients
2 1/2 C flour (I use brown rice flour – organic if you have it)
Egg replacement equivalent to 2 eggs (I used Bob’s Red Mill egg replacement)
3/4 C canned organic pumpkin (not pie mix!) – optional substitute: canned squash or sweet potato
2 TB organic peanut butter
Instructions
- Preheat oven to 350F.
- Dump everything into a medium mixing bowl.
- Stir ingredients with a fork until it begins to clump into a ball. Then use your hand to bring it together more. If it’s too dry to come together, add a little water (I didn’t need to).
- Knead on counter until you get a smooth ball – this is really stiff dough.
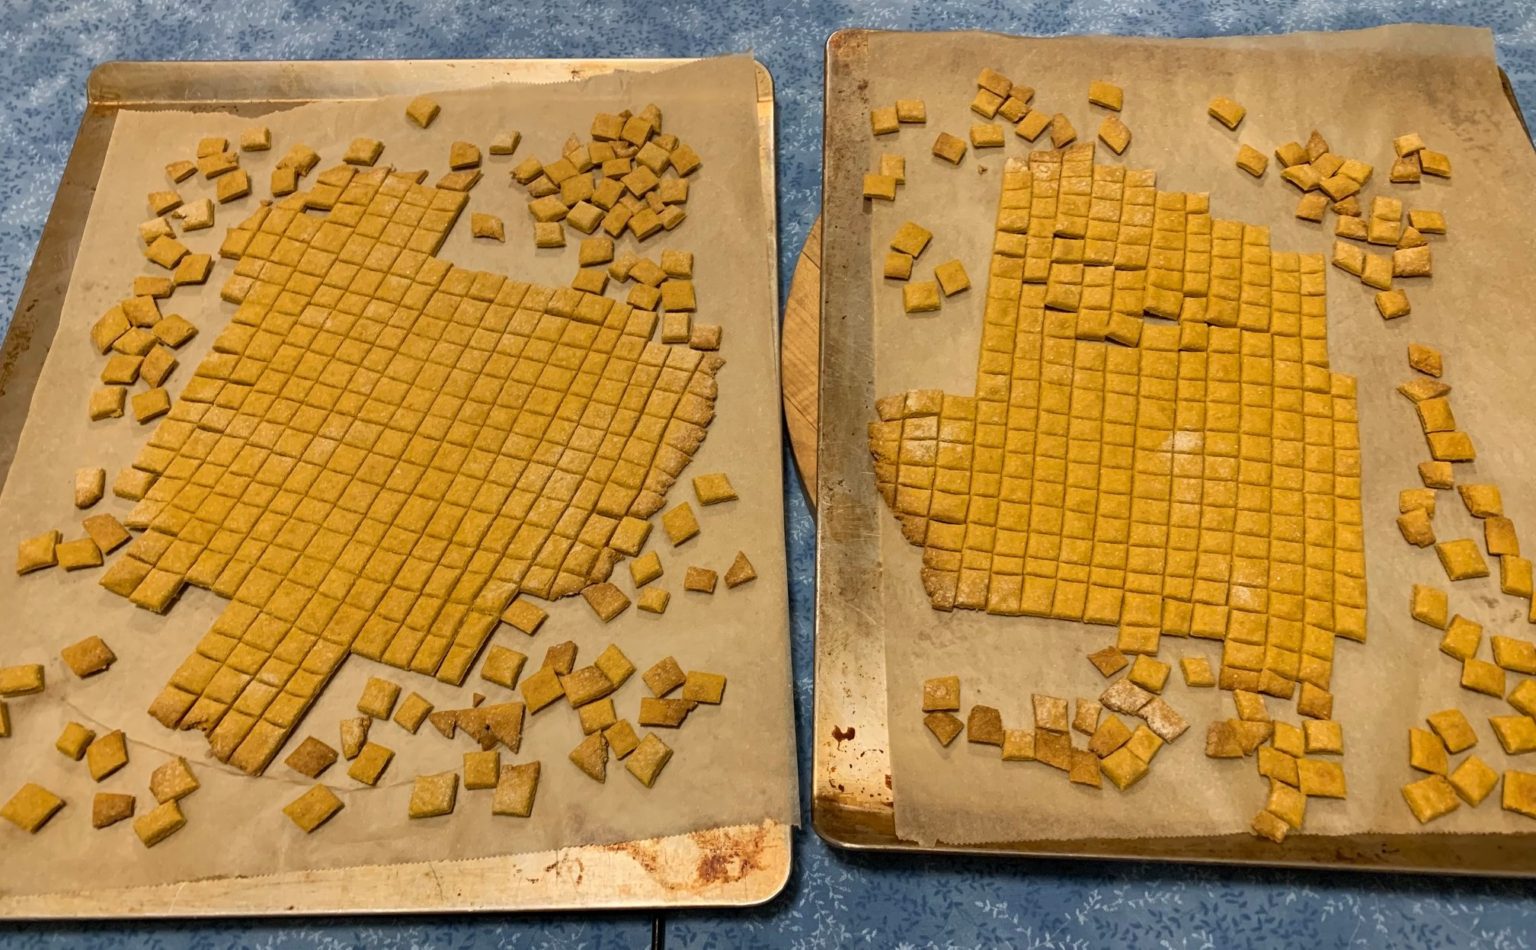
- Sprinkle a little flour on a sheet of parchment paper. Cut ball of dough into two pieces. Set one aside, covered.
- Roll out into a sort of rectangle about 1/4 inch thick.
- Using a pizza cutter or a sharp knife, cut into strips about 3/8 to 1/2 inch wide. Then cut across strips to make 3/8 to 1/2 inch pieces. (Lizzie is a small dog so we go smaller.)
- Slip a cookie sheet under the parchment paper and set aside. Repeat with the second ball of dough.
- Bake about 40 minutes. Turn the pans 180 degrees every 10 minutes for the first 20 minutes, then switch shelves, turn the pans, and bake 20 minutes, and with one more turn for the last 10 minutes. They should be hard – careful the edges don’t burn.
- Let cool on baking sheets.
- Break apart and when completely cool, store in an airtight container.
 These are super crunchy and so much healthier than Milk Bones!